In the scorching heat of a San Antonio summer, your HVAC system isn’t just a luxury: it’s a life-support system for your home’s comfort and structural integrity. However, many homeowners in the Texas Hill Country are living with a ticking time bomb: an improperly sized HVAC system. Whether your unit is too big, too small, or a "Frankenstein" creation of mismatched parts, the consequences go far beyond a high electric bill.
At Veteran Home Inspections, we frequently encounter systems that were installed based on "rules of thumb" rather than precise calculations. Michael Marlow’s extensive background in home inspections and mold assessment provides our team with a unique perspective on how these systems should be integrated into a home’s design and installation. We understand that an HVAC system is not a standalone appliance; it is the heart of your home’s climate control. When that heart is the wrong size, the entire "body" of your home suffers.
The Myth of "Bigger is Better": The Oversized HVAC
Many homeowners assume that a larger air conditioner will cool their home faster and more effectively. This is a dangerous misconception. In a climate like San Antonio, where humidity levels often rival those of a tropical rainforest, an oversized HVAC system is one of the primary causes of indoor discomfort.
The "Cold and Clammy" Phenomenon
An oversized unit cools your home too quickly. It reaches the temperature set on your thermostat in a matter of minutes and then shuts off. This is known as short cycling. While the air might feel 72°F, the system hasn't run long enough to perform its second, more critical job: removing excess moisture from the air.
Air conditioning coils need time to get cold enough to pull moisture out of the air. When a system short-cycles, it leaves the humidity levels hovering at 60% or higher. This creates that unpleasant "cold and clammy" feeling where you’re shivering but your skin feels sticky.
Accelerated Wear and Energy Spikes
Every time your HVAC motor starts up, it consumes a massive surge of electricity: far more than it uses while running steadily. Frequent starting and stopping (short cycling) leads to:
- Higher Energy Bills: You are paying for the "startup cost" of your AC dozens of times a day.
- Premature Component Failure: The constant mechanical stress on the compressor and fan motors can cut the lifespan of your system in half.
- Uneven Temperatures: Rooms furthest from the thermostat often remain warm because the system shuts off before the cooled air can circulate properly.

The Little Engine That Couldn't: The Undersized HVAC
On the opposite end of the spectrum is the undersized system. This usually happens when a home has been expanded or when an installer tries to save money by putting in a smaller unit than the home’s square footage and heat load require.
The Perpetual Run Time
An undersized unit will run almost continuously during a San Antonio afternoon. Because it lacks the capacity to move enough heat out of the house, the temperature inside will slowly climb despite the AC running at full blast. This leads to:
- Extreme Energy Consumption: Because the unit never reaches the setpoint, it never shuts off, leading to skyrocketing utility costs.
- Component Burnout: HVAC systems are not designed to run 24/7 at peak capacity. This leads to overheated motors and seized compressors.
- Poor Air Filtration: When a system is constantly struggling, airflow can become stagnant in certain areas of the house, leading to poor indoor air quality.
The "Frankenstein" Mismatch: Different Tonnage Ratings
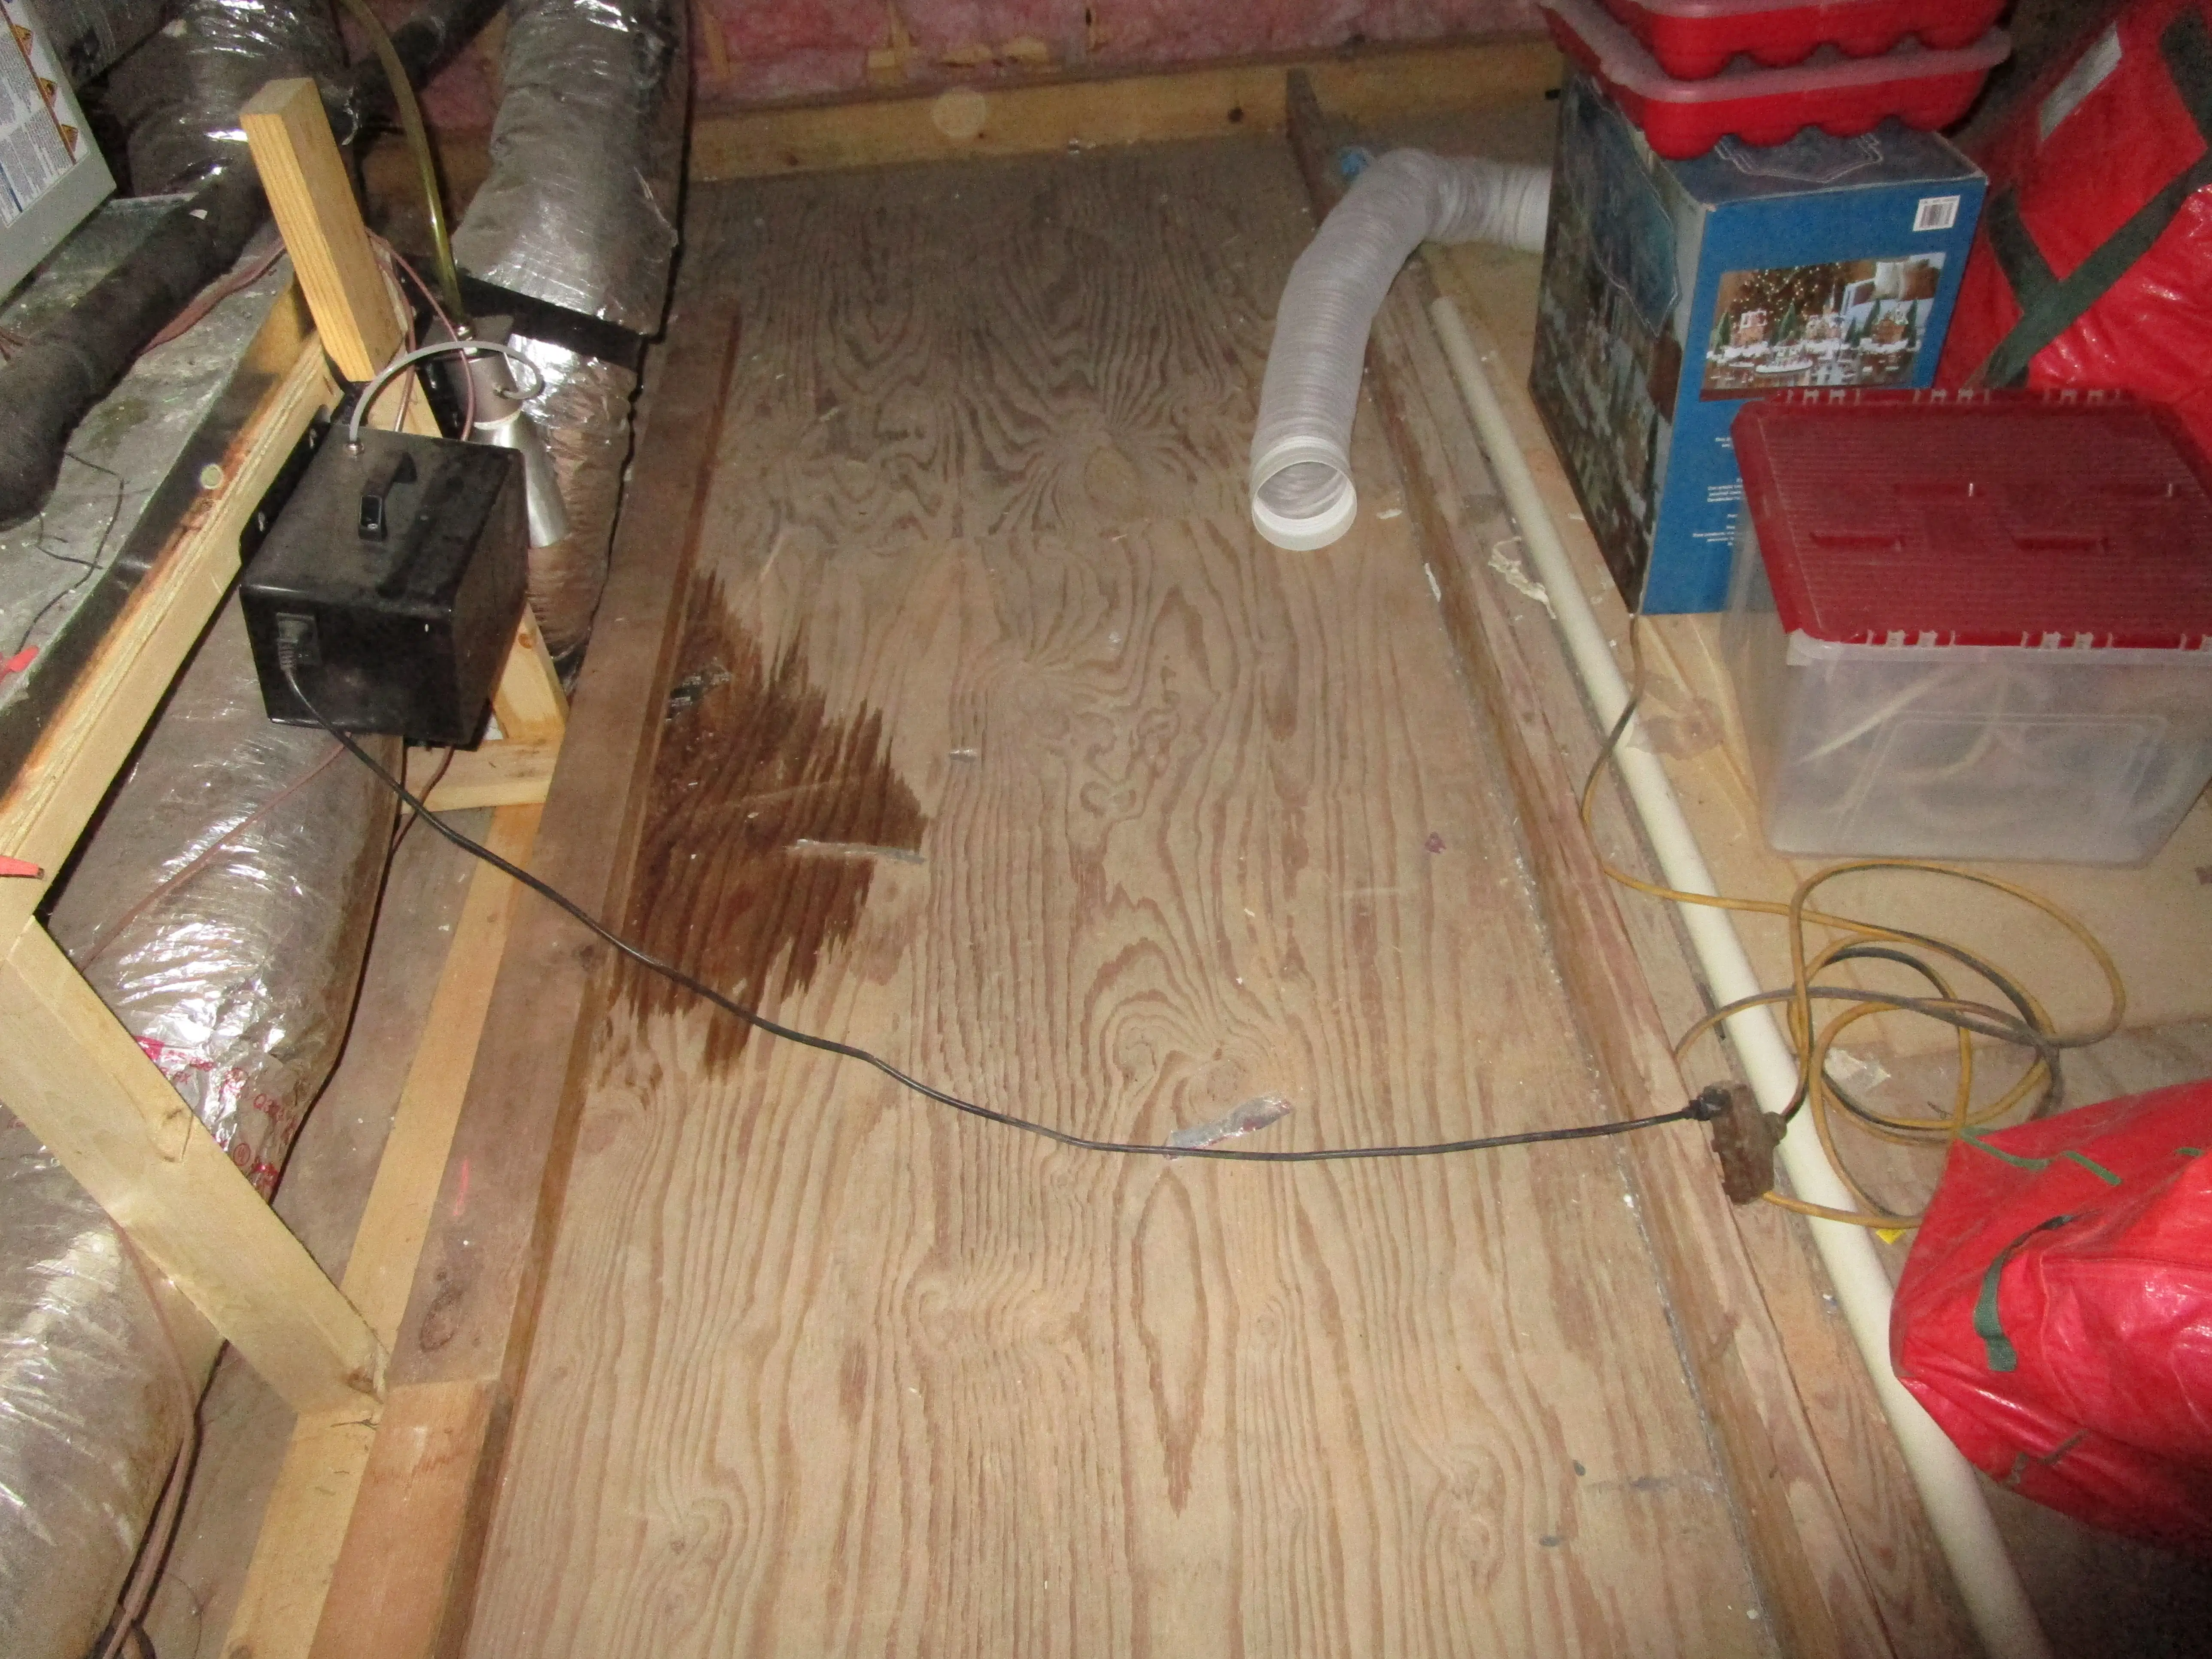
Perhaps the most technical: and most overlooked: hazard is a mismatch between the indoor evaporator coil and the outdoor compressor (condenser). This often occurs during "partial" replacements where a contractor replaces an outdoor unit but leaves the old indoor coil to save the homeowner money. Builders also often use mismatched sizing to cheat the home energy rating score they need to get tax credits. They save, and you will pay in the future, sometimes very quickly.
Efficiency and Warranty Violations
HVAC components are engineered to work as a matched set. When you pair a 3-ton outdoor unit with a 2.5-ton indoor coil, or vice versa, you create a "Frankenstein" system that underperforms in every category.
- Humidity issues: When the evaporator coil is larger than the compressor, this can make the system more efficient, at least when it comes to energy consumption. However, this is not a good thing for your indoor environment. By making the system more efficient, we run into the same problems we see with an oversized unit. The system satisfies the thermostat too fast, leading to short-cycling and skyrocketing humidity in the house.
- Warranty Voids: Most manufacturers will not honor a warranty if the indoor and outdoor units are not AHRI-matched. If your brand-new compressor fails, you may be stuck with the full bill because the components didn't match.
- Refrigerant Issues: Proper refrigerant charging is nearly impossible in a mismatched system, leading to liquid "slugging" that can destroy the compressor.

The Humidity Connection: Why Sizing is a Health Issue
In the Texas Hill Country, humidity isn't just about comfort; it's about health. When an improperly sized system fails to control moisture, your home becomes a breeding ground for mold and mildew.
As a Certified Master Inspector in San Antonio, we have seen firsthand how high humidity levels (anything consistently above 50% RH) lead to:
- Mold Growth: Mold spores thrive on organic materials like drywall and wood when moisture is present.
- Musty Odors: That "old house smell" is often the off-gassing of microbial growth fueled by poor dehumidification.
- Respiratory Issues: Dust mites and mold allergens are significantly more prevalent in humid environments, exacerbating asthma and allergies.
What a Certified Master Inspector Looks For
During a professional home inspection in San Antonio, the inspectors at Veteran Home Inspections don't just check if the air coming out is cold. We perform a comprehensive evaluation of the system’s health and sizing.
1. Data Plate Verification
We check the data plates on both the indoor and outdoor units. We verify that the tonnage ratings match and that the equipment is compatible. If we see a 2024 condenser paired with a 2012 evaporator coil, we flag it as a significant concern for both efficiency and warranty coverage. We don't conduct the actual sizing calculations, as that requires extensive specialized training, so if we suspect an improperly sized unit we will refer you to an HVAC specialist to get these calculations done.
2. Temperature Differentials (Delta-T)
We measure the temperature difference between the return air and the supply air. A properly functioning, correctly sized system should generally have a "split" of 15 to 22 degrees. If the split is too low, the system is struggling; if it’s too high, you may have airflow restrictions or sizing issues.
3. Thermal Imaging
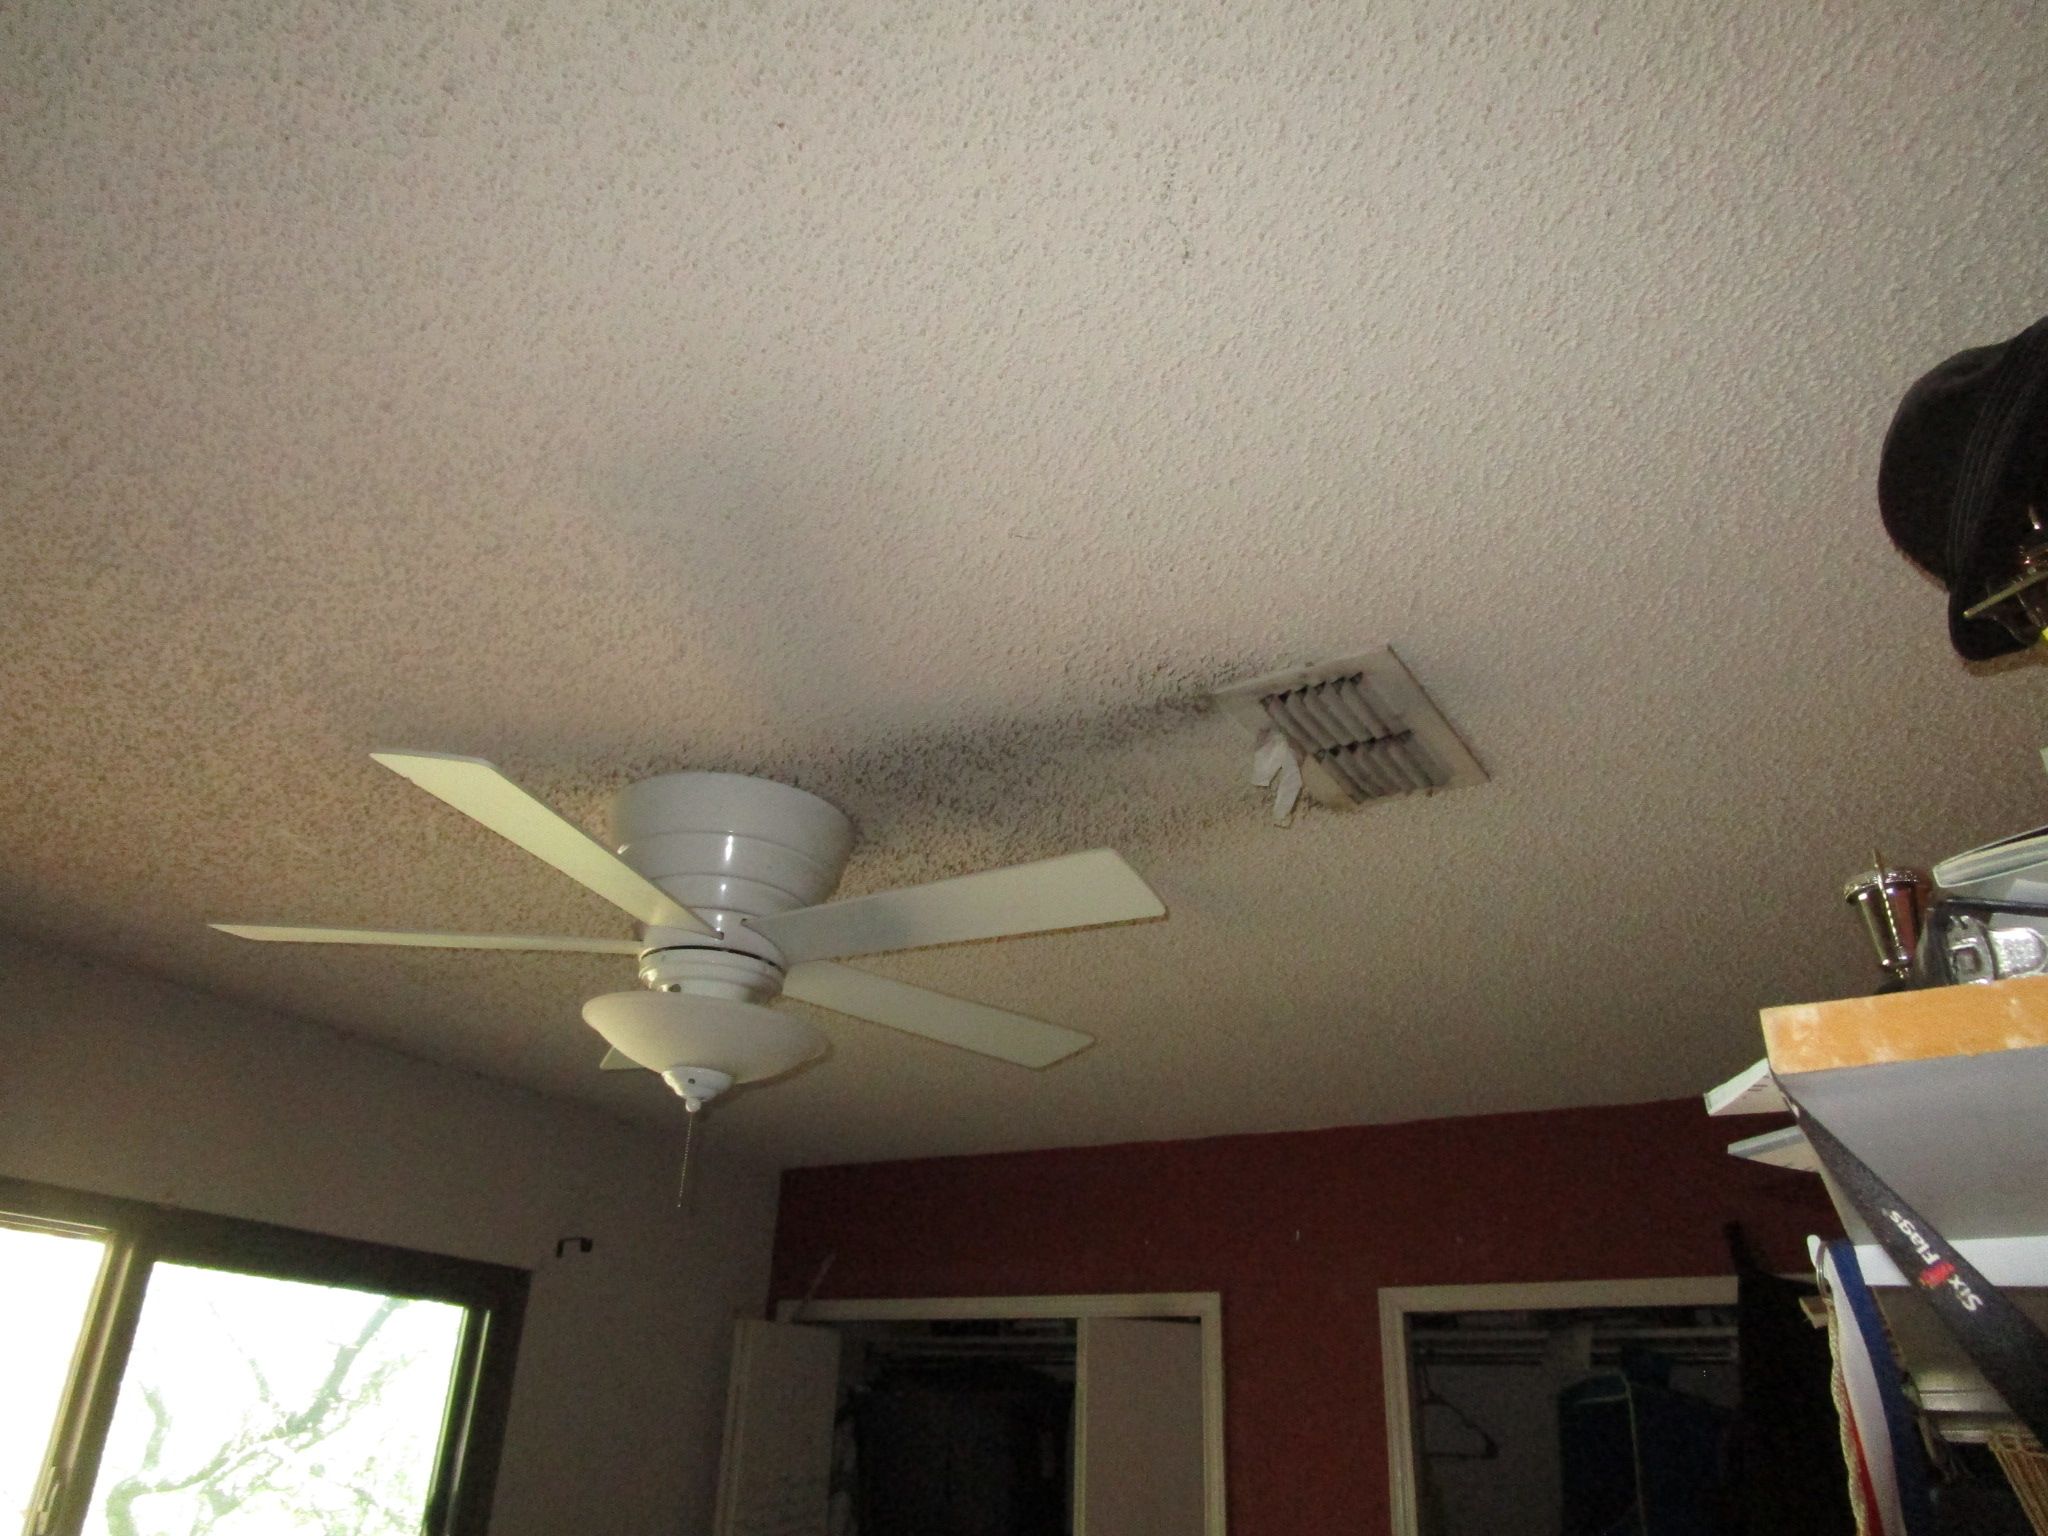
We utilize advanced thermal imaging inspections to see what the naked eye cannot. We check for "hot spots" in rooms that might indicate poor duct design or an undersized unit. We also look for cold spots on walls or ceilings that could indicate hidden condensation and potential mold growth.
4. Signs of High Humidity
We look for secondary evidence of sizing issues, such as:
- Condensation on windows or air vents.
- Rusting on the HVAC cabinet or surrounding components.
- Musty odors or visible microbial growth in the air handler closet and around vents.

Protect Your Investment and Your Health
Your home is likely your largest investment. Don't let an improperly sized HVAC system quietly destroy its value, your comfort, and your health. Whether you are buying a new home in Boerne or selling a property in San Antonio, a professional inspection is the only way to ensure your climate control system is working for you, not against you.
If you suspect your HVAC system is short cycling, failing to keep up, or leaving your home feeling clammy, it’s time for a professional evaluation. Veteran Home Inspections provides the expert insight you need to make informed decisions about your property.
Don’t wait until the next Texas heat wave to find out your system isn’t up to the task.
Contact Veteran Home Inspections today at 210-202-1974 or schedule your inspection online.